office@sallystracheyconservation.co.uk

t: +44 (0)1458 832 441

http://www.sallystracheyconservation.co.uk


http://facebooklogin.ws/2009/12/facebook-login/


Wednesday, 28 March 2012

Downside Abbey

Here is a look at the works/report we have recently carried out at Downside Abbey.

We were commissioned by Beech Tyldesley Architects to carry out a condition report to certain areas of the Abbey via the means of rope access.


As part of the survey, we carried out a series of different cleaning samples to the stonework. For these samples we used a few different techniques in a few different areas on the building to see the variation of success.


For the areas of stonework where a build up of black/carbon was not present we found that a mechanical clean using stainless steel wire brushes and warm water worked really well. The crocket on this north aisle pinnacle below shows just how well!


It was amazing to see the difference it made to the detail of the carving. Up close you can see the detail and shadow intended, which from a distance we dont really get to appreciate.


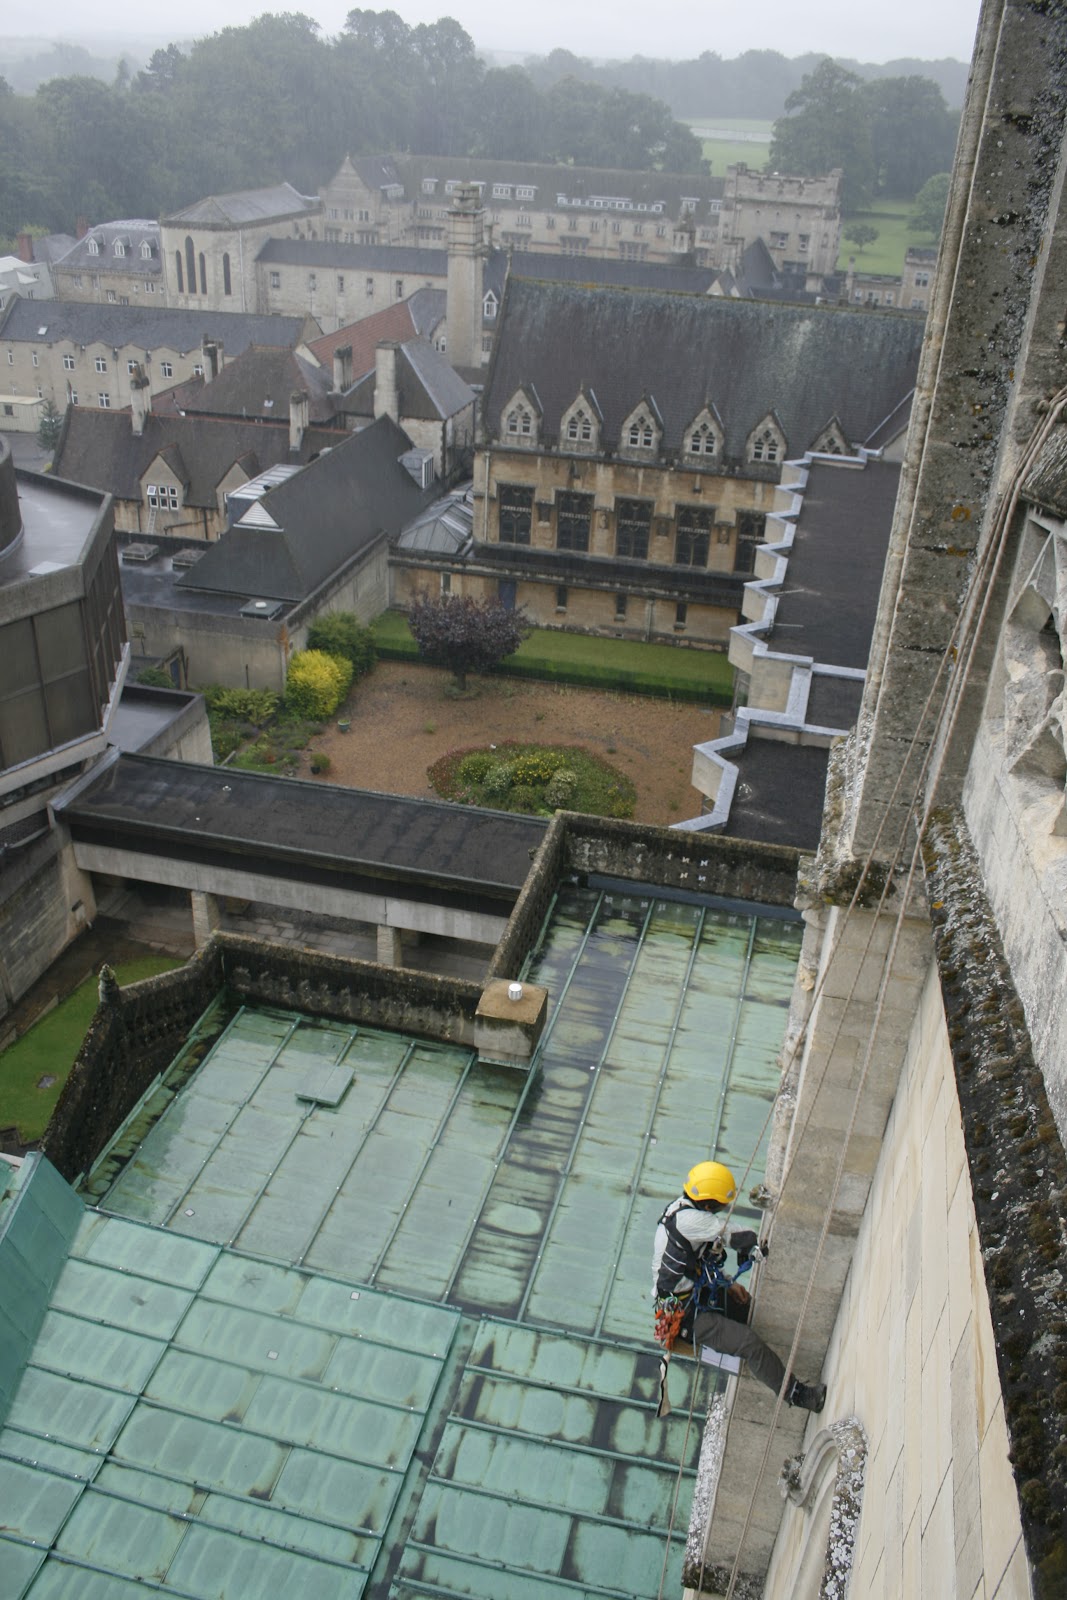
In other areas there were quite heavy build ups of carbon on the underside of features such as grotesques, string courses and niches for the statues. Below is a before and after photo of the carbon build up on an east facing statue base. The method used for the trial was an ammonium carbonate poultice.


After the poultice is applied, it is covered in order to keep the moisture in. We then leave it on over night for the ammonium to do its magic. The next day it is then removed and cleaned off using a wire brush and water. This particular trial area shows fantastic results after just one application.


Below is a good picture of John Fowler applying the poultice over looking Downside school.


The statues themselves were not found in the best of states. Here is a picture of the statue central on the east elevation of the nave.


Beneath the obvious build up of vegetation and mosses, the stone is found to be in need of surface repairs.

Unfortunately, above the crown of this statue is a water escape route, possibly due to a failed section of string course.


The damage of which can be seen below. 

As well as the poultice traials, the mechanical cleaning trails and the latex cleaning trials internally, we also carried out areas of cleaning using Restorative Techniques 'ThermaTech'. Can be found on twitter as @restorativetech

Quote from their website.

'ThermaTech® is a brand new range of superheated water cleaning equipment. Conceived for the requirements of building conservation, restoration and refurbishment'

I think its fantastic.
I carried out some of the trials using this machine from ropes. Here is picture of one of the gargoyles being cleaned.


And some samples were done a little lower down!

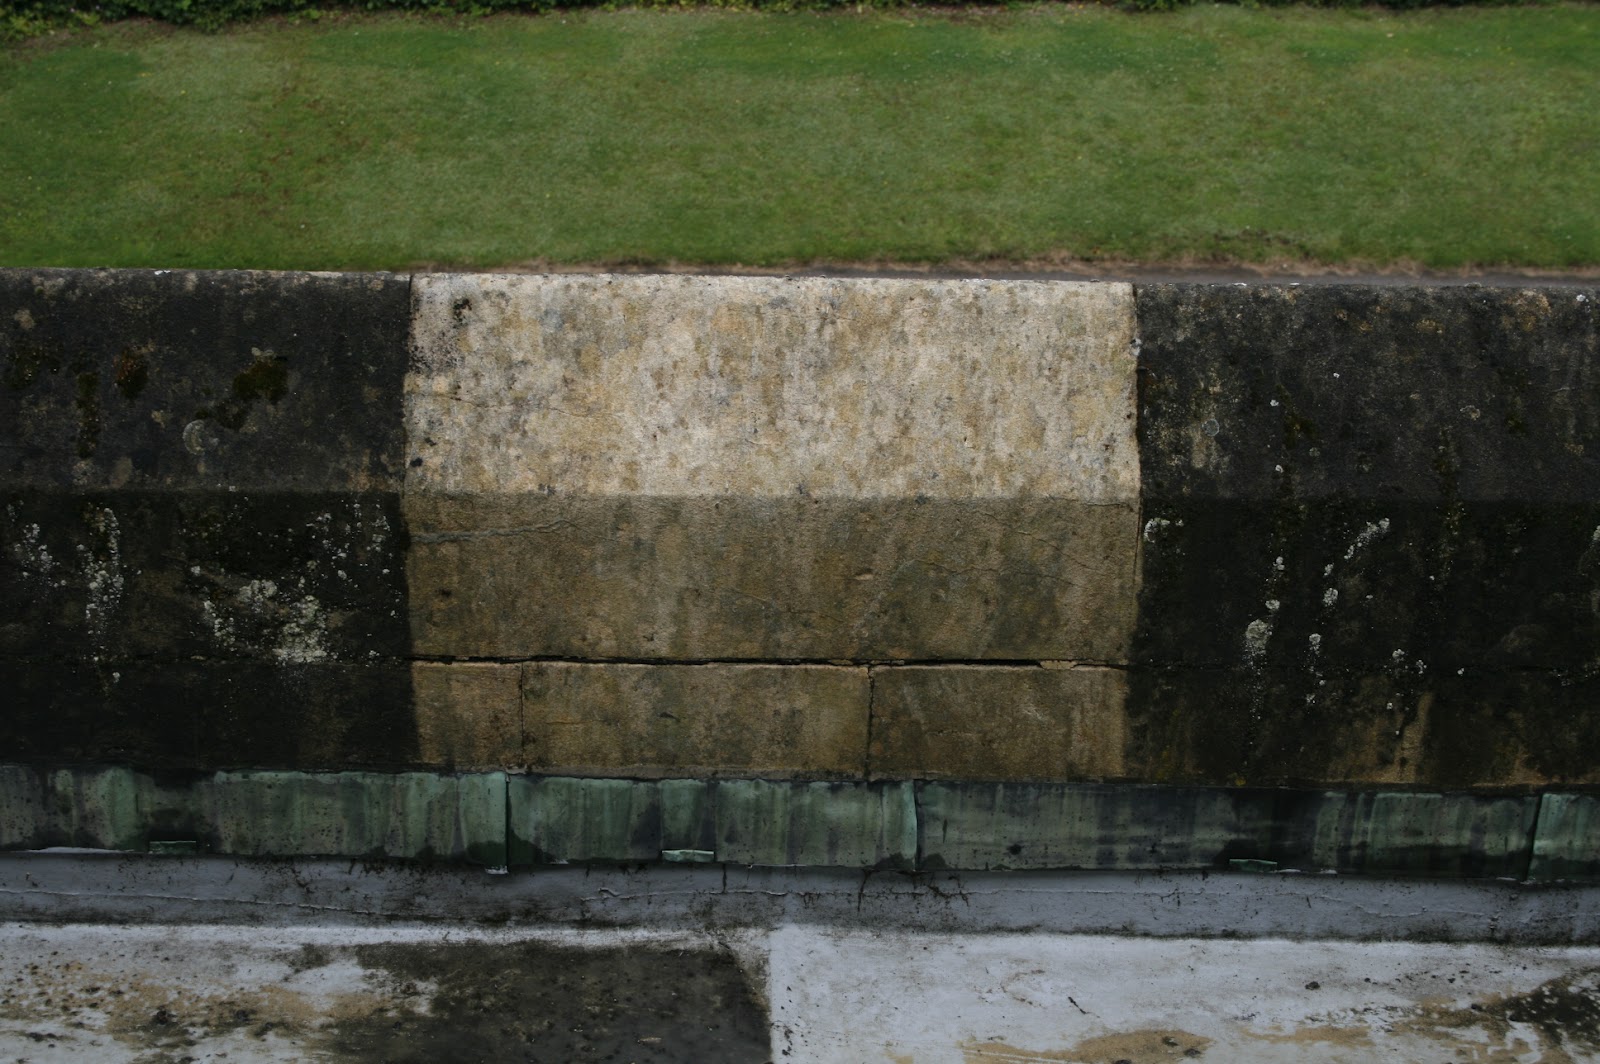
Parapet wall:

Litchen covered buttress:
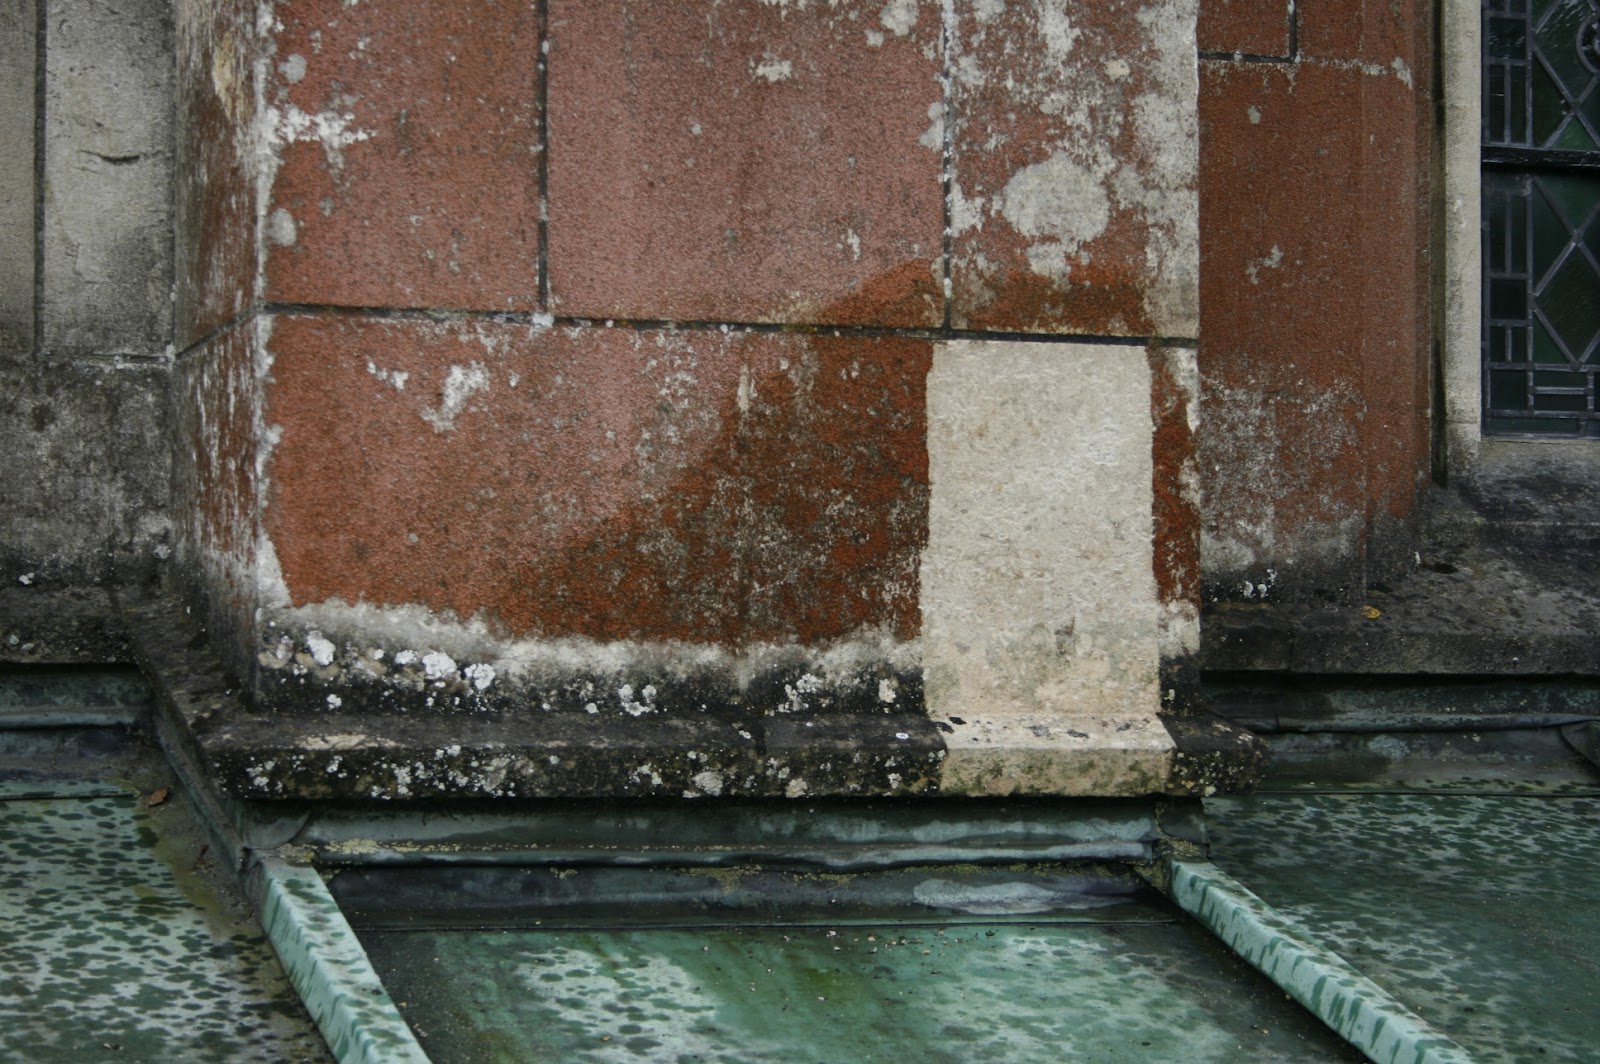

A flying buttress:


All trials had very sucessful results using the Thermatech.


Some of the level of detailed carving found at high level was stunning. I found this gargoyle underneath a thick layer of moss!


So thats about it for now.

Below are a few more pictures that i hope you all find interesting.

Here I am in the vaulted ceiling internally checking out the condition of the stonework.


 John and I checking out the amazing success of the ThermaTech machine.


John taking detail of condition on the north facing rose window.


John checking out the rose window internally.


Myself, James Preston (left), Jamie Fairchild of Restorative Techniques (middle) and Architect, Mark Taylor of Beech Tyldesley Architects (right)




Wednesday, 25 January 2012

Lympsham Font

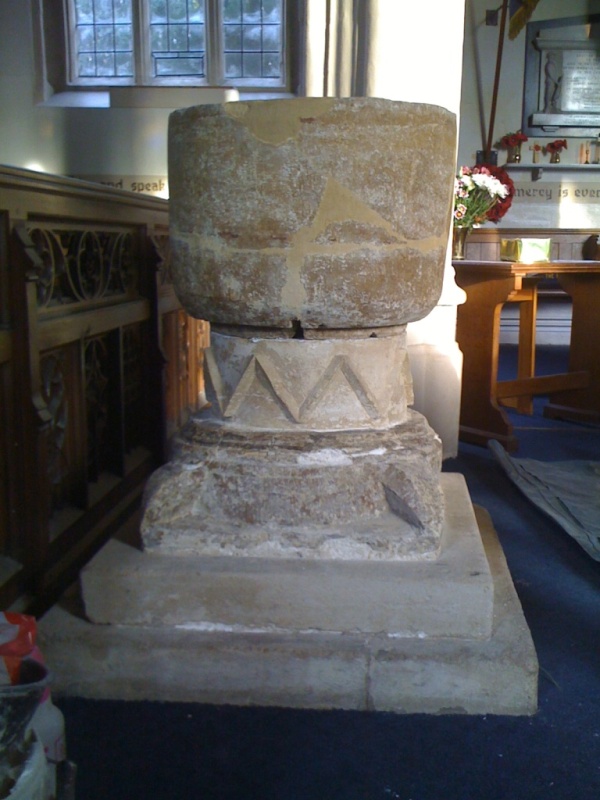
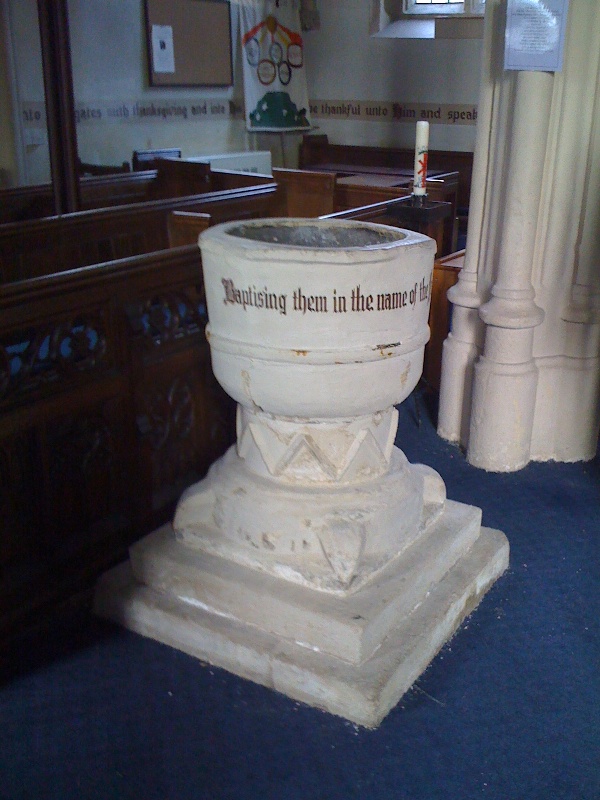
So, Firstly, Here are a few pictures of the condition of the Norman font in St Christopher, Lympsham.

As can be seen, The font has been painted over and stencilled lettering applied.


The paint is also covering an iron band which would have been installed as a support. If only they had known....

Another pic of works starting on day 1.


After assessment, the font was found to have many cracks and be in a worryingly unstable condition. The decision was made to remove the font to our workshop where the conservation works could be carried out. Below I have just cut the iron band free and revealed the extent of the damage it has caused.


The lead lining was removed to reveal the inside face of the stone. The lining was also cracked and eroded, It was decided to have it replaced.


So, here it can be seen better the actual state of the stone. All this caused by an iron band. The paint probably hasn't helped much either.


You can see above and below that where the iron ring was placed on the font, there is a severe latitudinal crack all the way around, again, amazing the damage that can be caused yet completely unknown looking back at the first photo.


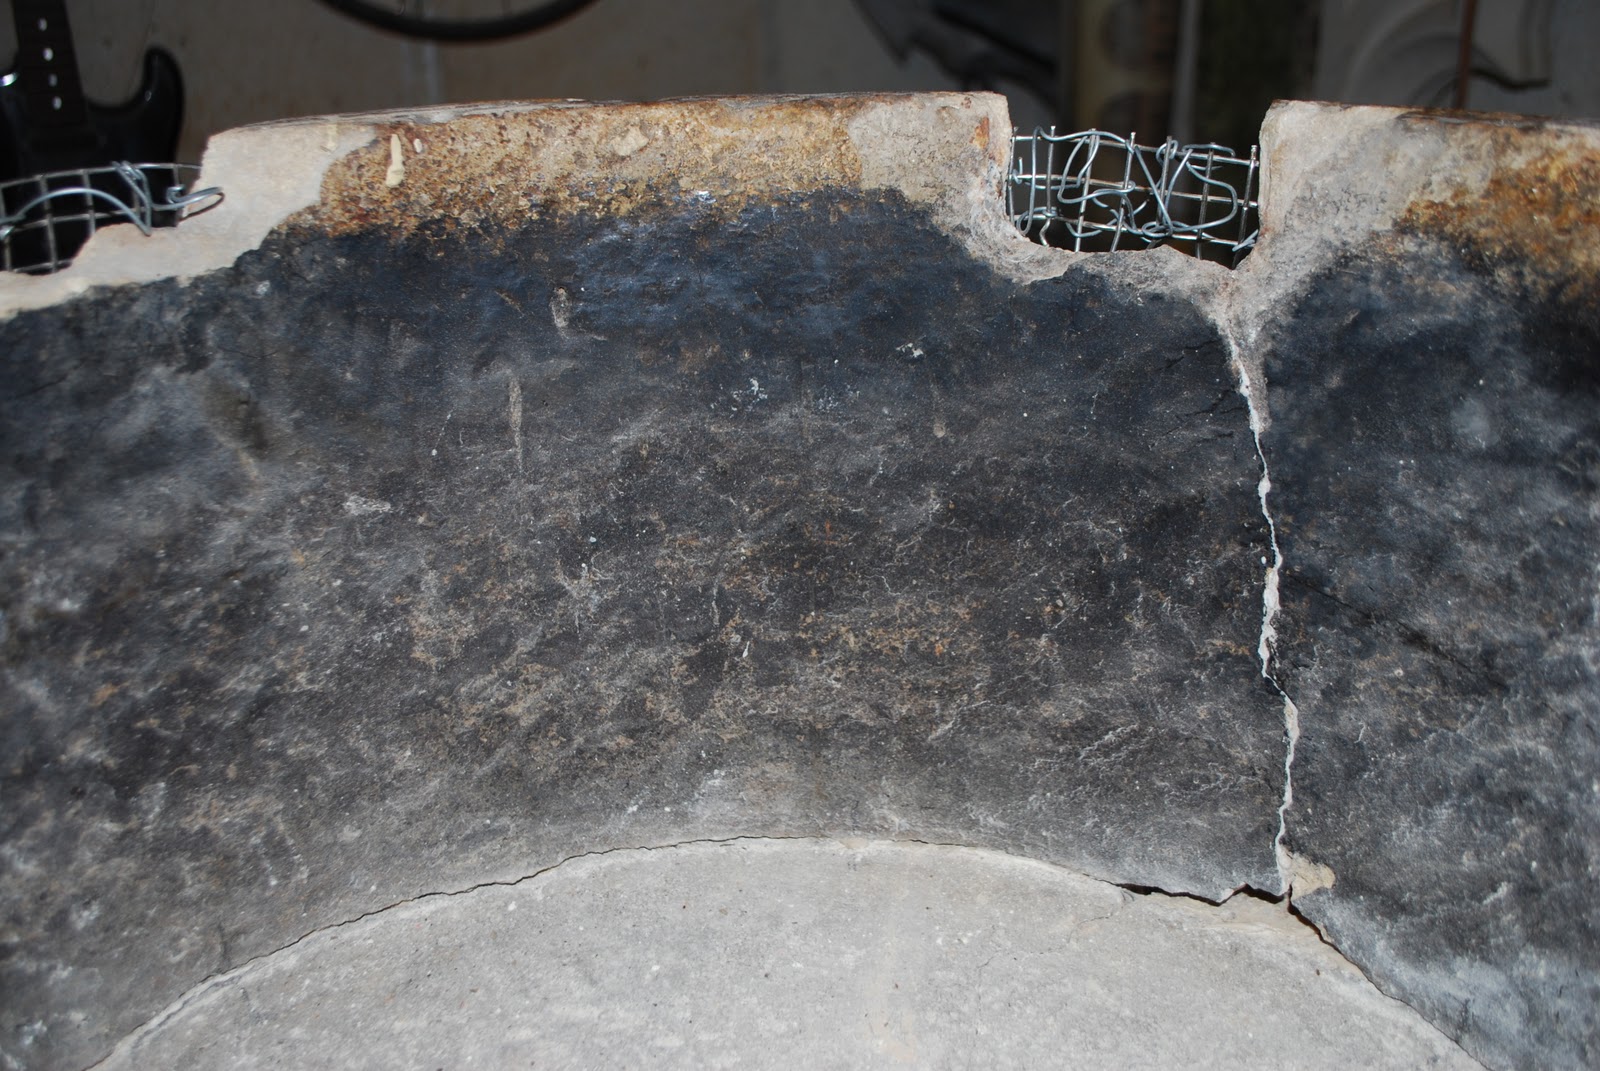
Here's a view of the damage seen inside the bowl.


Sections of the rim were found to be previous repairs.

Once assessment was complete we dismantled the many pieces of the font and began to rebuild it. for this we used a two part resin and stainless steel pins. We then had the font back as one piece but still had to tackle the paint.


Right, begin the painstaking task of removing the paint. layer upon layer of it too. The idea was to completely strip the paint back to the stone. To do this we used mallet and chisel to 'shock' off the top layers, the final layer was removed by scalpel.


Below, shocking off the top layers


For the areas that were found to be previous repair, we used stainless steel to form a mesh, resin fixed and to be used as an armature. This will give the lime mortar repairs something to hold on to when built up and when carbonated.


Starting to get somewhere with this project now. The font is in one piece, repairs are going on and the horrible paint has been removed.


Lisa has built up the first layers of the lime repairs to the missing sections of the rim. A key is left for the bonding of the top layer.


Lisa at work!


The new lead lining was carried out by Andy Jones, a specialist subcontract lead worker and roofer. What a task to line this font in a single piece of lead. 


Very clever Andy!


This takes a lot of patience.


But... was a perfect fit.


The old lining came up, over and around the rim, but as we found it covered up these tooled lines on the rim we thought it better to leave it set in the bowl.


So, off back to site to have the bowl refixed. The paint has been removed from the rest of the masonry and all the sections have been re-bedded in their original positions.


Above you can see how the mortar repairs that were applied stand out from the stone.

To lose this a little, as well as giving the font a breathable protective coating, a sheltercoat was applied.
 

1st Coat


Finished font from above.


Finished font with 2 coats of sheltercoat.


Wednesday, 8 June 2011

Dowdeswell Monument, Bushley

Condition prior to works:


Not a very happy monument!


This monument was also very dirty....


...and the lettering had become almost illegible.


Salts

The salts in the stone had destroyed most of the detail and decoration to this label stop.


The damage was also visible on the monument itself 

and was most apparent on the plaster work around and behind the monument.


Action

The monument had to be dismantled because of its stability, rusting iron cramps were embedded in the joints and picked up by the cover meter survey carried out on the monument previously.
Also, spalled pieces of stone had broken off revealing the iron behind.


 A face on the shield!


 Once dismantled we could go about carefully cleaning all the elements.


The wall around the monument and areas of other suffering plaster work was re lime plastered.


The monument was rebuilt using stainless steel cramps and plaster of paris. Once back in place the lettering was repainted.

Back to its former glory....


Finished!
Another job well done.
Just needs abit of decorating!